| |
|
|
|
| |
|
| |
|
| 第二堂練習 |
| |
| 學習目標 – 材質練習 |
| 利用第 1 課堂的練習場景,在 3D 中更改物件材質。 |
| |
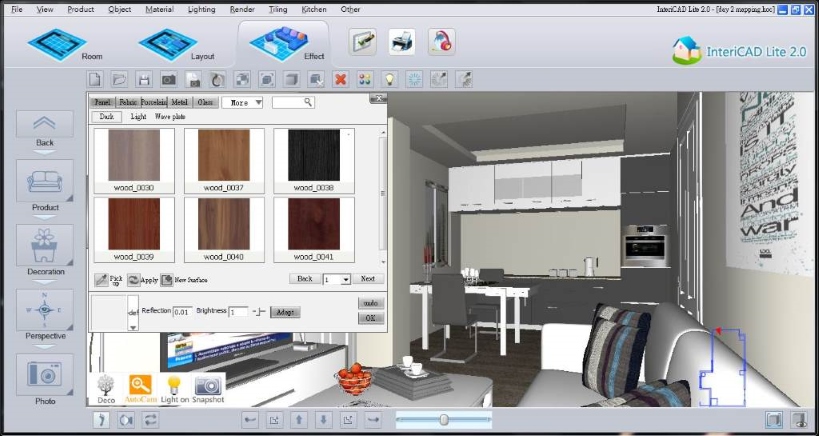
| 1. |
改變物料(如牆身可改用牆紙或塗料、地板改用木紋或大理石等)。 |
| |
 |
| |
|
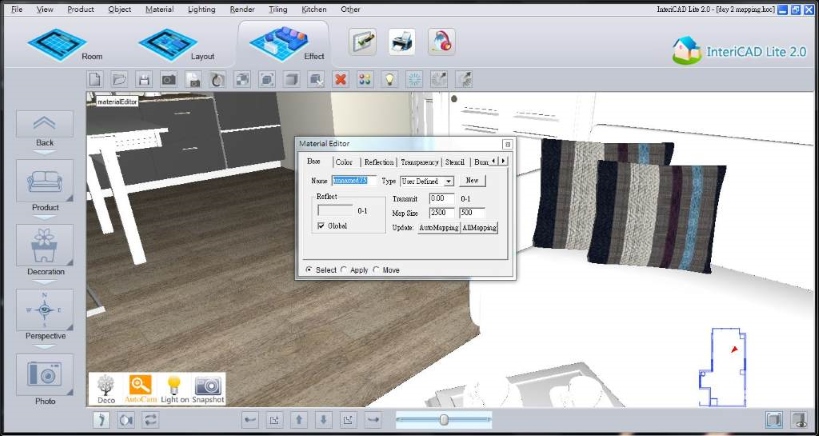
| 2. |
用【Material Editor】指定物料類型。緊記每件物件均需定義。 |
| |
 |
| |
|
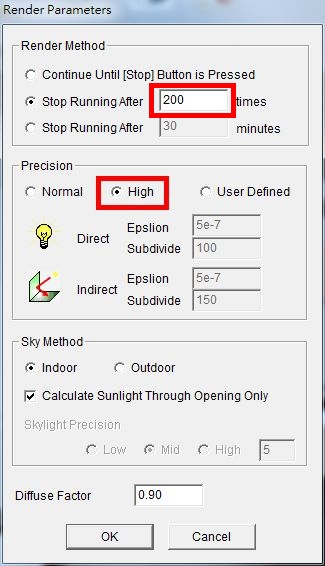
| 3. |
按【Render>Start Radiosity】。用 "High",渲染 200 次。(實際次數視乎場景而定,如有需要可再繼續累積進行計算,直至天花/牆身的多餘黑影消除)。 |
| |
 |
| |
|
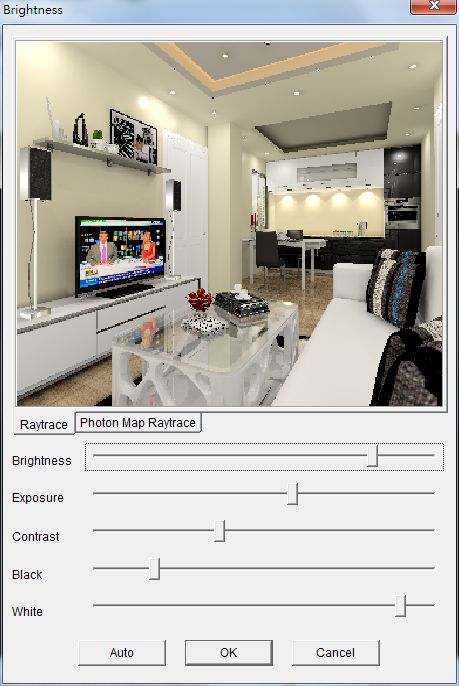
| 4. |
Adjust Brightness。 |
| |
 |
| |
|
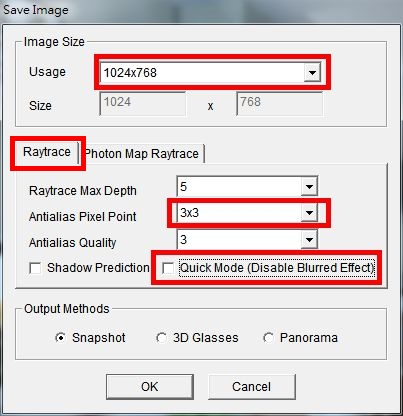
| 5. |
走動到要拍照的視角,選擇 Save Image,選用 "Raytrace",留意其餘選項。 |
| |
 |
| |
|
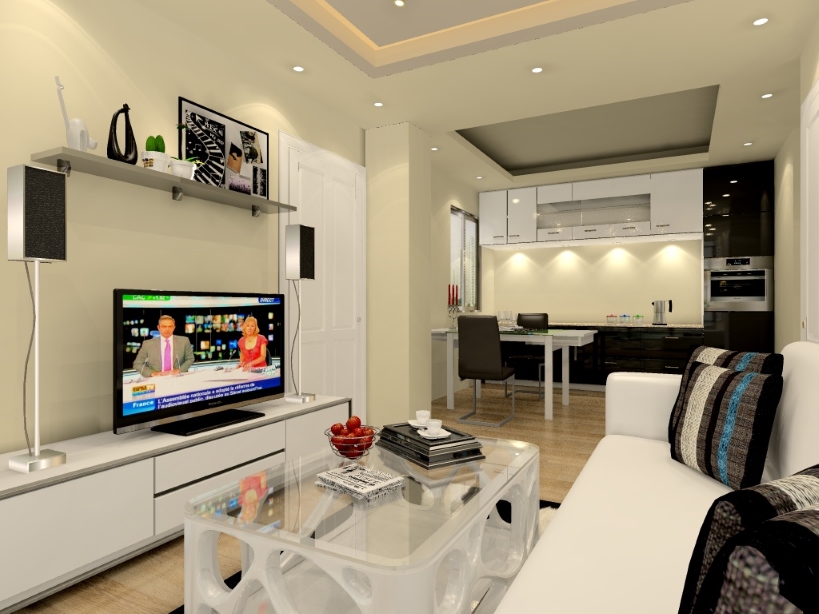
| 6. |
完成圖 (請參考此視角來生成 jpg 照片)。 |
| |
 |
| |
|
| |
把完成的 jpg 圖檔 email 到 support@goldex.com.hk,請註明公司、個人名字及本堂上課日期以便辨識。另外請保存此場景所有檔案留待改正及第三堂功課繼續使用。 |
| |
| |
Copyright
© 2003-2020 Goldex Technology Co / Goldex Information Technology
Ltd. All rights reserved.
All other trade marks are owned by their respective Owners.
Contact us | Disclaimer
|